The Ultimate Guide to Bathroom Wall Panel Installation: Transform Your Bathroom with Ease
Looking to refresh your bathroom without the hassle of traditional tiling? Bathroom wall panel installation is an easy, cost-effective solution to achieve a sleek, modern look. These panels are practical, aesthetically pleasing, and incredibly simple to install, making them a top choice for homeowners and renovators alike. Whether you’re upgrading a bathroom or remodeling, this guide will walk you through the entire process of fitting wall panels, ensuring a seamless finish that lasts. If you’re looking for durability,
offers the perfect solution.
Why Bathroom Wall Panels Are the Smart Choice
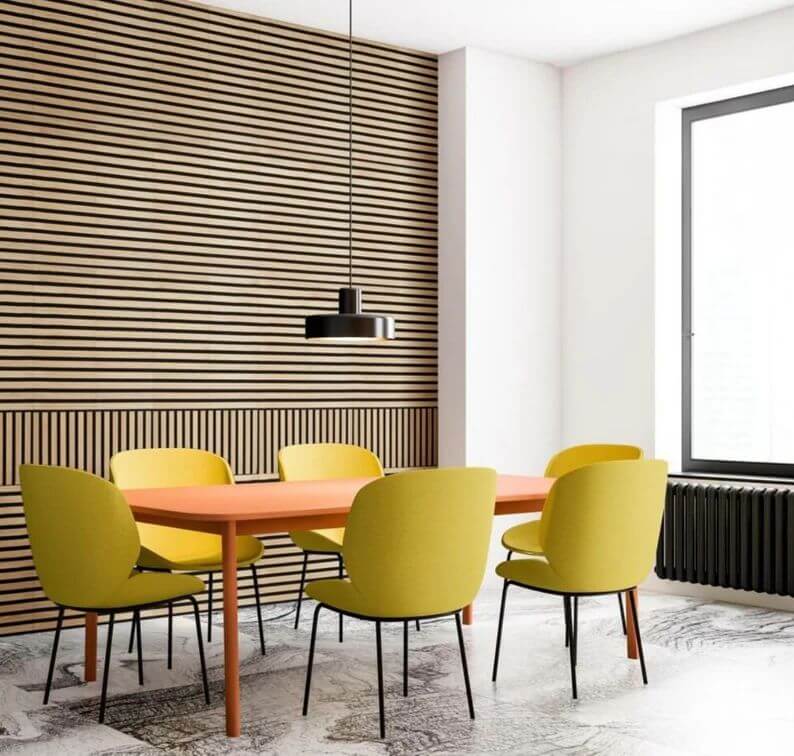
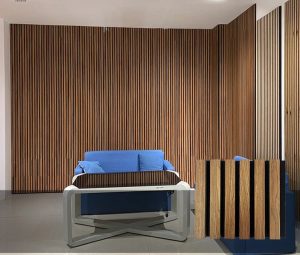
Bathroom wall panels are an increasingly popular alternative to tiles, offering benefits that go beyond just aesthetics. With their range of designs and minimal maintenance, they make an excellent choice for both contemporary and traditional bathrooms.
The Advantages of Bathroom Wall Panel Installation:
- Water-Resistant & Durable: Panels are designed to withstand the humidity of bathrooms, protecting your walls from water damage.
- Quick & Easy to Install: No need for extensive tools or professional help, making it perfect for DIYers.
- Effortless Maintenance: Unlike tiles, there’s no grout to clean—just wipe down with ease.
- Sleek Look: Available in numerous finishes, such as gloss, matte, and wood-effect, to suit your style.
Step-by-Step Guide to Successful Bathroom Wall Panel Installation
Installing bathroom wall panels doesn’t need to be a daunting task. With just a few tools and the right preparation, you’ll have your panels up and looking fabulous in no time. With
, you can enjoy a moisture-resistant solution for your bathroom.
1. Prepare the Surface & Gather Your Tools
Before beginning any bathroom wall panel installation, ensure your walls are clean, dry, and smooth. Remove any old tiles or wallpaper, and repair any cracks or holes. Once the surface is prepped, gather the following tools:
- Measuring tape
- Saw (for cutting panels)
- Adhesive
- Sealant
- A spirit level (for precise alignment)
2. Measure and Cut the Panels to Fit
Accurate measurements are key to successful bathroom wall panel installation. Measure the height and width of the area you’re covering. When cutting your panels, ensure they’re slightly smaller than the measurements to allow space for trims or sealant.
3. Apply Adhesive and Secure the Panels
Next, apply a strong adhesive to the back of the panels, then press them into place. It’s important to start at the top of the wall and work your way down. This ensures that gravity helps hold the panels securely. Make sure the panels align properly using a spirit level, and check for any gaps between them.
4. Seal the Edges for a Waterproof Finish
Once all panels are installed, seal the edges with silicone or another waterproof sealant. This step ensures your bathroom wall panels are completely waterproof and eliminates the risk of water seeping behind the panels.
5. Add Finishing Trims
To complete the look, install any finishing trims around the edges of the wall panels. These trims hide the cut edges and give your installation a clean, professional appearance. For a lasting finish, ensure your
is sealed properly after installation.
FAQ About Bathroom Wall Panel Installation
How long does it take to install bathroom wall panels?
Typically, bathroom wall panel installation can be completed in a day, depending on the size of the space and your experience level. With proper preparation, most DIY enthusiasts can finish the job in 6-8 hours.
Can I install bathroom wall panels over existing tiles?
Yes, you can install wall panels over old tiles, provided the tiles are in good condition. Just make sure the surface is clean and smooth before starting your installation.
Are bathroom wall panels more cost-effective than tiles?
Yes, bathroom wall panels are often less expensive to install than traditional tiles, especially when factoring in the labor costs. The installation process is quicker, which reduces the overall cost of the project.
What materials are bathroom wall panels made of?
Bathroom wall panels are typically made from acrylic, PVC, or moisture-resistant MDF. These materials are chosen for their durability and ability to withstand the moisture-rich environment of a bathroom.
How do I maintain bathroom wall panels?
Maintaining bathroom wall panels is incredibly simple. Just wipe them down with a damp cloth and mild detergent. There’s no grout to scrub, making the upkeep much easier than traditional tiled walls.
Common Mistakes to Avoid in Bathroom Wall Panel Installation
To ensure your bathroom wall panel installation is flawless, here are some common pitfalls to watch out for:
- Incorrect Measurements: Always double-check your measurements to avoid wasting panels and time.
- Using the Wrong Adhesive: Use adhesives designed specifically for bathroom environments to ensure a strong, lasting bond.
- Not Sealing Edges Properly: Neglecting to seal the edges can lead to water damage and mold growth. Always apply a good-quality silicone sealant.
- Rushing the Job: Taking your time and ensuring each step is done correctly will lead to a better finish and longer-lasting results.
The Benefits of DIY Bathroom Wall Panel Installation
Choosing bathroom wall panel installation as a DIY project offers several benefits:
- Cost Savings: You can avoid paying for professional installation and keep the project budget-friendly.
- Flexibility: With DIY installation, you have full control over design choices and customization.
- Sense of Accomplishment: Completing the project yourself can give you a sense of pride in your home improvement.
Conclusion
Bathroom wall panel installation is an efficient way to enhance your bathroom without the mess and expense of traditional tiling. With their waterproof properties, ease of installation, and minimal maintenance, wall panels are an ideal choice for homeowners looking to refresh their bathroom. Whether you’re updating your current space or remodeling entirely, this quick guide will help you achieve a sleek, modern bathroom in no time.