DIY Wall Panels: Elevate Your Home with Style and Sophistication
Bring Architectural Charm to Your Walls—No Contractor Required
DIY wall panels are a cost-effective and creative method to improve your living area. With a few tools, some careful planning, and a little elbow grease, you can turn ordinary, uninteresting walls into stunning focal areas. Whether you’re adding character to a quiet bedroom, a formal dining room, or a corridor, this book will teach you all you need to know about wall paneling. Consider browsing trusted sources for the best
for your budget.
Design Your Dream Panels: From Inspiration to Blueprint
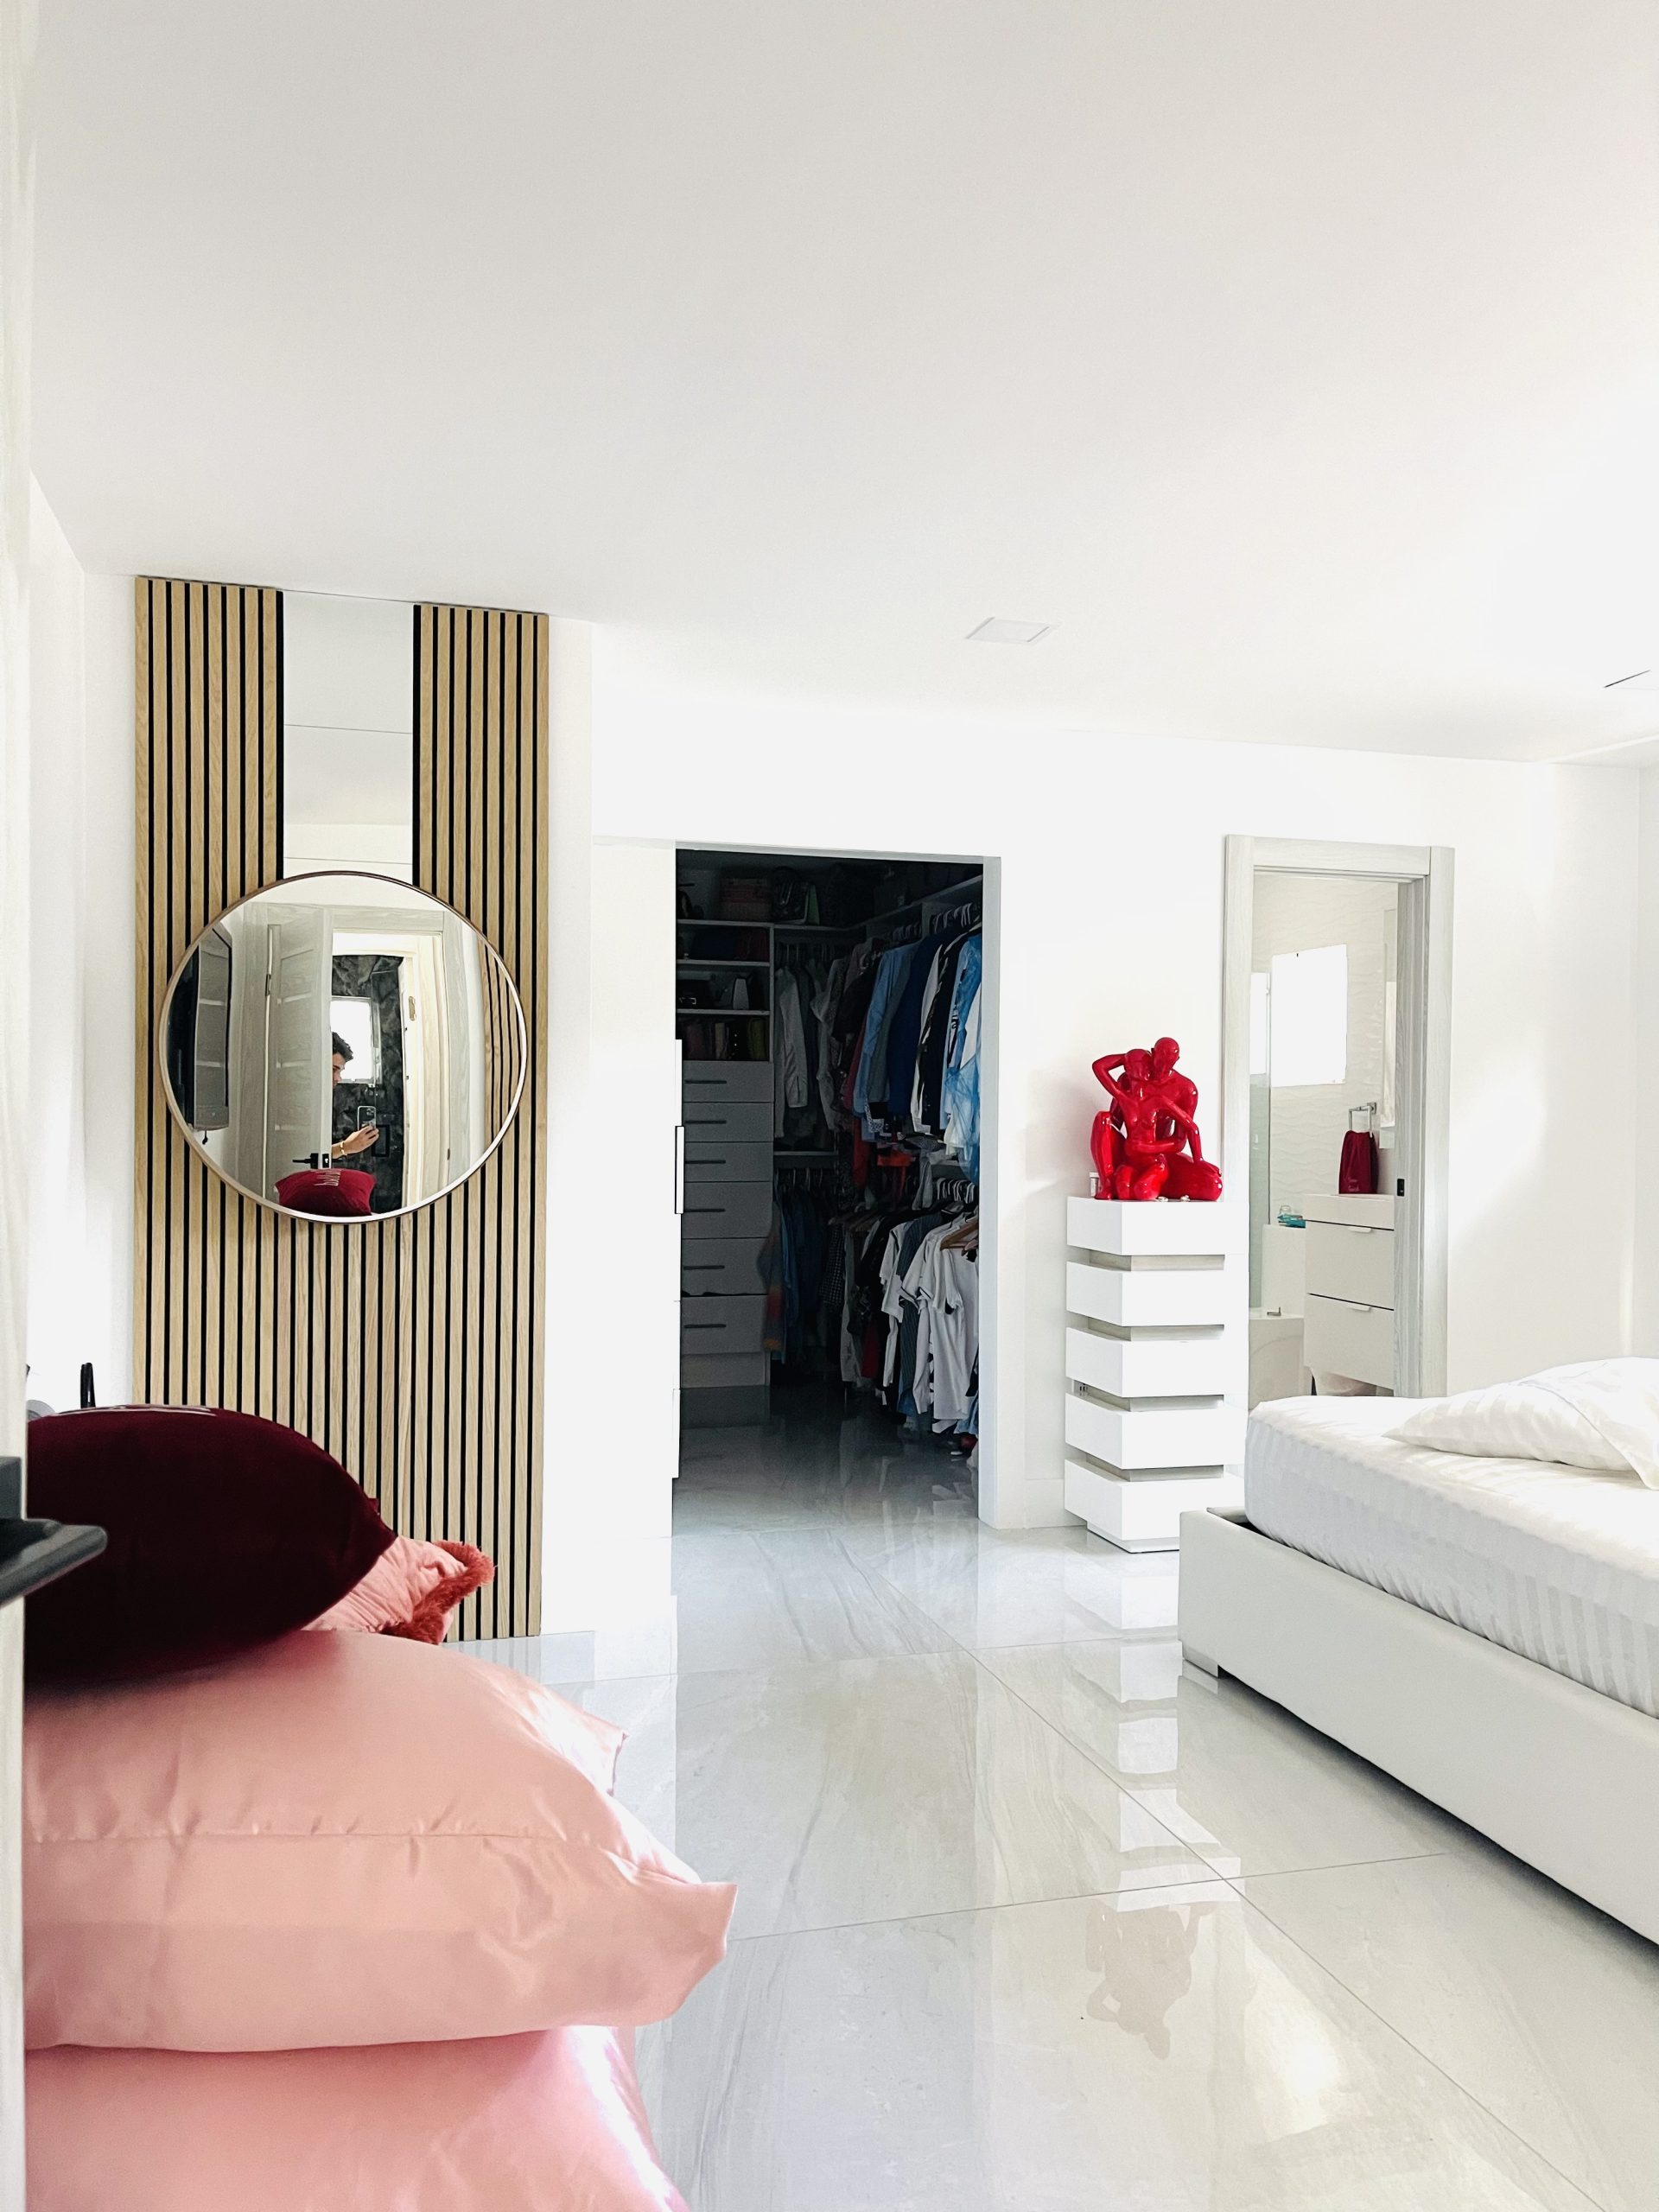
Visualize Your Wall’s Potential
Before you pick up a single tool, consider how you want your wall to appear. DIY wall panels might be in conventional, modern, or eclectic designs. Are you looking for traditional square grids, striking vertical lines, or minimalist slats? Sketch out your ideas or utilize digital mockups to explore with layout and symmetry. To achieve a cohesive look, match your panels with complementary
choices.
Choose the Right Materials for a Pro Look
Selecting the right materials makes all the difference in achieving a polished final look. Here are some popular options:
- MDF (Medium-Density Fiberboard): Easy to cut and smooth to paint.
- Pine or Oak Boards: Great for natural textures and rustic finishes.
- PVC or Composite Trim: Lightweight and ideal for moisture-prone areas like bathrooms.
When planning your materials, also consider:
- Panel thickness
- Wall texture
- Paint or stain finishes
- Budget constraints
Gear Up for Success: Prep and Tools Checklist
Measure Twice, Cut Once
Precision is everything. Before cutting a single board:
- Measure your wall’s height and width.
- Divide the space evenly based on your chosen panel design.
- Use a pencil and level to mark your layout directly on the wall.
What You’ll Need for Your DIY Wall Panels Project
Gather these essential tools and supplies:
- Tape measure and level
- Saw (hand saw, miter saw, or jigsaw)
- Wood adhesive or construction glue
- Brad nailer or hammer and nails
- Sandpaper or electric sander
- Wood filler
- Primer and paint or wood stain
- Caulk for a clean finish
Having all tools on hand will make the process smooth and efficient.
The Magic Happens: Installation Made Easy
Step-by-Step Instructions to Install Your Panels
- Cut the panels according to your marked dimensions.
- Dry-fit each panel to confirm alignment.
- Apply adhesive to the back of the panel.
- Press it firmly against the wall, starting from one corner.
- Secure with nails at the corners or along the edges.
- Repeat for remaining panels, checking each one with a level.
Finishing Like a Pro
After installation, it’s time to elevate your panels from good to gorgeous. Don’t forget to explore current
trends to keep your space feeling fresh.
- Fill in gaps and nail holes with wood filler.
- Sand smooth any rough areas.
- Prime the wood to prevent blotchiness.
- Paint or stain the panels to match or contrast your walls.
- Add caulk between the panels and the wall for a seamless appearance.
Add Your Personal Flair: Color, Texture, and Accents
Your DIY wall panels are a blank canvas. Here’s how to make them pop:
- Paint them bold: Deep navy, emerald green, or matte black for drama.
- Go monochrome: Match panel and wall color for subtle texture.
- Add trim accents: Combine with crown molding or baseboards.
- Highlight with lighting: Install sconces or spotlights for a luxe feel.
Why Homeowners Love DIY Wall Panels
Here’s what makes DIY wall panels a favorite among homeowners and decorators:
- Cost-effective alternative to custom millwork
- Completely customizable to your space and style
- Adds texture, depth, and architectural interest
- Boosts resale value with minimal investment
Common Panel Types and Their Benefits
Here’s a quick breakdown of popular panel styles:
Shaker-style panels : Clean, timeless look that suits most interiors.
Board and batten : Vertical slats that elongate walls and add rustic charm.
Box grid : Traditional and elegant, great for formal dining rooms or offices.
Slat panels : Modern, sleek, and ideal for accent walls.
FAQ: Everything You Need to Know About DIY Wall Panels
Q: Do I need professional tools to install DIY wall panels?
A: No! Most tools required, such as a saw, level, and glue, are simple to use and inexpensive to rent or buy.
Q: Can DIY wall panels be installed on textured walls?
A: Yes, but it’s best to sand or skim coat the surface first to ensure the panels sit flush.
Q: Are DIY wall panels removable?
A: Panels can be removed, but expect to patch and repaint the wall afterward.
Q: What’s the best paint finish for wall panels?
A: Satin or semi-gloss finishes work best—they’re easy to clean and reflect just the right amount of light.
Q: How long does it take to install DIY wall panels?
A: Most projects can be completed in one weekend, depending on the size of your wall and complexity of the design.
Final Thoughts: Transform Your Space with DIY Wall Panels
DIY wall panels are an excellent method to show your creativity and improve your house without breaking the budget. With the proper materials, equipment, and a good strategy, you can make a wall feature that match bespoke installations. Whether you choose to add a contemporary twist or go for traditional charm, this DIY project will provide impressive results with a personal touch.